December 9, 2014

Christmas on a budget!

It's the most wonderful time of the year!

I don't know about you, but I LOVE giving gifts!  Whatever the occasion.  Giving to people and making them smile puts a smile on my face too.  After all, that's what the season is all about, right?!  I also love being creative and saving money (don't we all!)  This time of the year can be tough on our wallets and our minds.  I am going to show you a couple of ways to keep your wallets full and your stress level down.


Any one who knows me, knows I love gift baskets!  It's a great way to put a bunch of little things together as one big gift.  Its a way to spread your money out instead of spending it on one gift.  For instance, you can create a basket with $5 movies from the discount bin at Walmart, bags of popcorn and some little boxes of candy from the dollar store, a cozy fleece blanket and you have a nice "movie night"  basket for under $20.  

I went to the Goodwill store the other day (my secret frequent stop) and found some great scores!  They have nice big baskets for $1-$3 each.  You would pay a lot more at any department store.  Tons of dishes, cups, glasses, blankets, rugs, pictures (and frames) and little nic-nacs that are in good shape and easy on the wallet.  You have to take your time and browse with patience but you just might find something pretty awesome.  When I was checking out, I couldn't believe the items that the woman in front of me found.  Cute Christmas decorations, beautiful sweaters and soft, cozy blankets.  They also offer 50% off of certain "colored" items every week.   When you walk in the store, they will have a sign that usually states "all pink sticker and barbed items are 50% off".  So it pays to pay attention to the "color" of the week.  Let me show you a couple of the items I found during my visit.


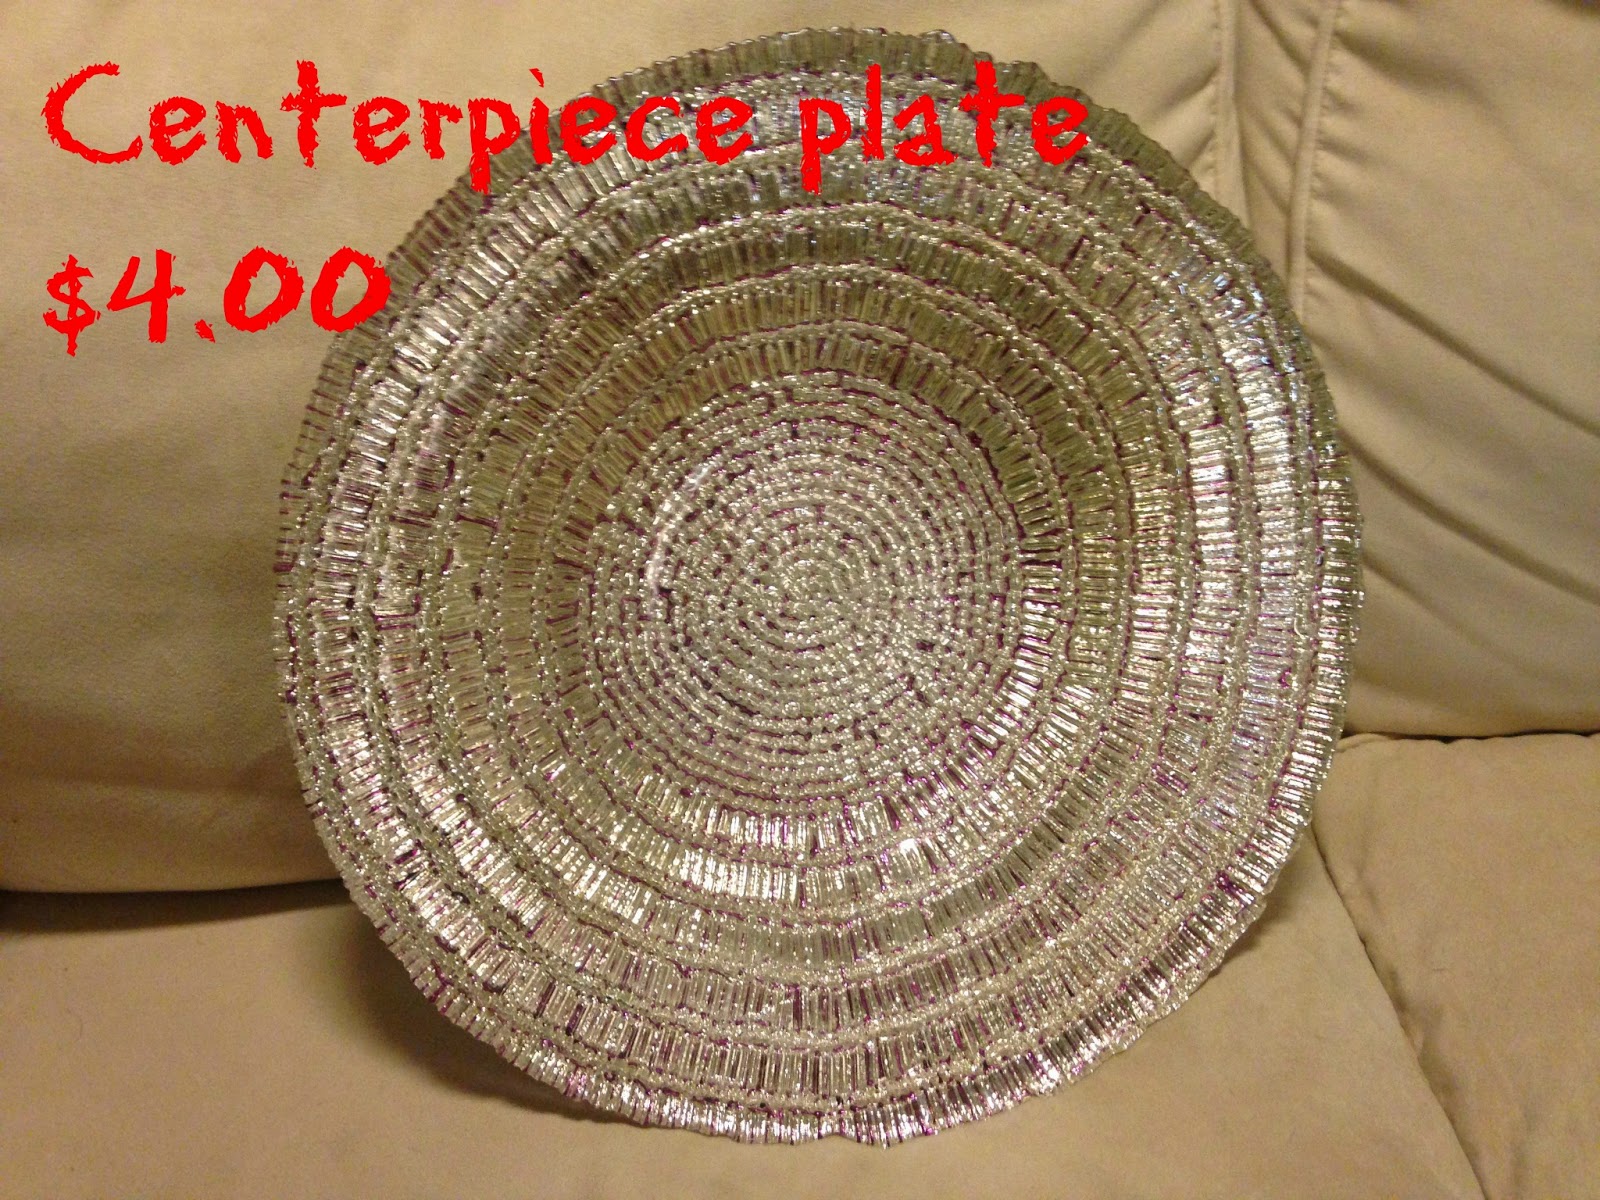
3 baskets for $1-$2 each, Candy dish for $1, 2 Santa dishes for $.50 each, 2 green "distressed" mugs for $.50 each, Silver and pink centerpiece dish for $4, and really nice wine glass for $.50.  The pink basket was originally $4 but the handle was falling apart so I got it for $2.  (it never hurts to ask to pay less than sticker price if you feel an item is priced too high for the condition it's in) When I got home, I wrapped the handle in pink ribbon and it was like brand new!  I paid $12.50 for all of these items that would have cost me A LOT more if I had bought them at department stores.  All of these items were like brand new (minus the pink basket)  No chips or scratches.  I was thrilled.  


My second favorite place to shop during the holidays (who am I kidding, any other day really) is Dollar Tree.  Some of their items really are worth the dollar, but you can also find some really good items too.  I usually purchase the fake flowers, candies, some food items (like the cookies) and craft supplies.  Not every store is set up the same, and sometimes you need to walk around and around until you can find what your looking for.  But I have frequent them so often, I can usually figure out where to go.  I also have different store locations that I frequent more than others.  Some are bigger or some are just nicer inside.  Anyways, here are a couple of items that I grabbed while I was there.


I also wanted to show you a quick candle using Dollar Tree items.  This candle cost $3.00 to make and I have left over items to use to decorate the baskets.  This took me 10 minutes to make and I think it looks adorable.  This is something that can be used year round, not just during the holidays.  So, let's get started.


Hope you enjoyed and will walk away with a couple of ideas.  If you liked it, Pin it or share on Facebook.  Caring is sharing :)  Or subscribe to receive awesomeness right to your inbox!  

Happy Saving! ~Amanda


November 4, 2014

Easy hanging laundry bag


Wash.  Dry.  Fold.  Repeat.


Ahhh, laundry.  Don't you just love the never ending pile of dirty clothes that are scattered across your floor?  Me neither.  Thats why laundry baskets were created.  But, with said laundry basket, there has to be a place to put it.  Not all of us are blessed with large spaces.  Or, maybe you are a college student living in a dorm, or living in a studio apartment.  Us small dwellers need to find any way possible to utilize all the space we can.  Wouldn't it be great to get the laundry basket off the floor?  Hang it behind a door, on the bed post, in the closet.  Great, lets take a laundry bag and hang it up.  Oh, wait, what happens when clothes go in the laundry bag?  It closes!  Ugh, not helpful, thank you drawstring!   Solution!  Embroidery hoop.  By placing the hoop around the opening of the laundry bag, it holds it open in an oh so convenient way.  Thanks to Pinterest, we can now throw our laundry away with ease.  So, lets get started.


Gather your materials.  You'll need, a laundry bag (or you can use a pillow case) string or ribbon and an embroidery hoop.  I recommend using a 14" plastic or bamboo hoop.  I used a nylon laundry bag that I found at Walmart.


Place the inner (or smaller hoop) inside the laundry bag.  Pull the drawstring around the inner hoop as shown above.  Then place the outer (or larger) hoop around the outside of the bag and line up with the inner hoop.  Tighten the hoop as tight as you can.  Remember, this is whats going to hold the bag open and you don't want the weight of the bag to pull it all apart. Flip the edges of the bag around the hoop so as to make the opening bigger.  You can use the string of the bag, or tie a string around the screw of the hoop to hang it.  


There you have it.  Easy, peasy, hanging laundry bag.  Like it?  Pin it.  Sharing is caring y'all.  

Head over to our Facebook page, or subscribe to receive coolness right to your inbox.


Happy cleaning!!!  ~Amanda


October 25, 2014

DIY Fall centerpiece

Listen!  The wind is rising and the air is wild with leaves, we have had our summer evenings, now for  October eves! ~Humbert Wolfe


I love that quote! There's just something about the bare trees and the houses lined with pumpkins and ghouls that make Halloween come alive.  While walking throughout the store the other day, I was inspired by a bag of candy corm.  You know, that good ol' orange, yellow and white wax candy that screams Fall is here.  That is what helped me create this very simple, easy on the wallet, Fall centerpiece.  

Let's get started shall we?!


You are going to need a 24 oz mason jar (or even a washed out spaghetti jar), 2 bags of candy corn, Fall inspired ribbon and flowers.  I used fake flowers but it would be just as pretty to use real ones.  Maybe some Hydrangeas?!  I got the ribbon, and flowers at the Dollar Tree Store for, you guessed it $1 each.  There are 4 bushels of flowers (I chose a cream/peach color) and 1 roll of ribbon.  I think the Dollar Tree even has jars (hint hint)


Place the candy corn in the jar.  The 2 bags fit perfectly, minus 1 or 2 that may have ended up in my mouth.  If you are using real flowers, it maybe easier to put the flowers in first, and the candy corn in after.  


Now take your ribbon and tie a cute little bow around the mouth of the jar.  You could also chose to leave the ribbon hanging, maybe even curl the ribbon.  I personally think bows are cute.  


Now your going to be placing the flowers in the jar.  If you are using real flowers, you have already done this and can skip this step.  If not, lets proceed.  You can arrange the flowers as desired.  I think a bouquet looks better if the center is slightly higher then the outside flowers.  It makes for a nice round effect.  Now, step back and admire your work of art.  Simple, cheap and oh so cute.  Who could ask for more?


Pick up a couple of pumpkins, gourds, or indian corn.  Or maybe some candles, smaller mason jars filled with candy, leaves, oh the choices!  Check out Dollar Tree, AC Moore, or local farmers market for some inspiration.  Be creative!

Like it?  Pin it or share on Facebook  

Happy creating my friends! ~Amanda